It Starts Before Any Equipment Arrives
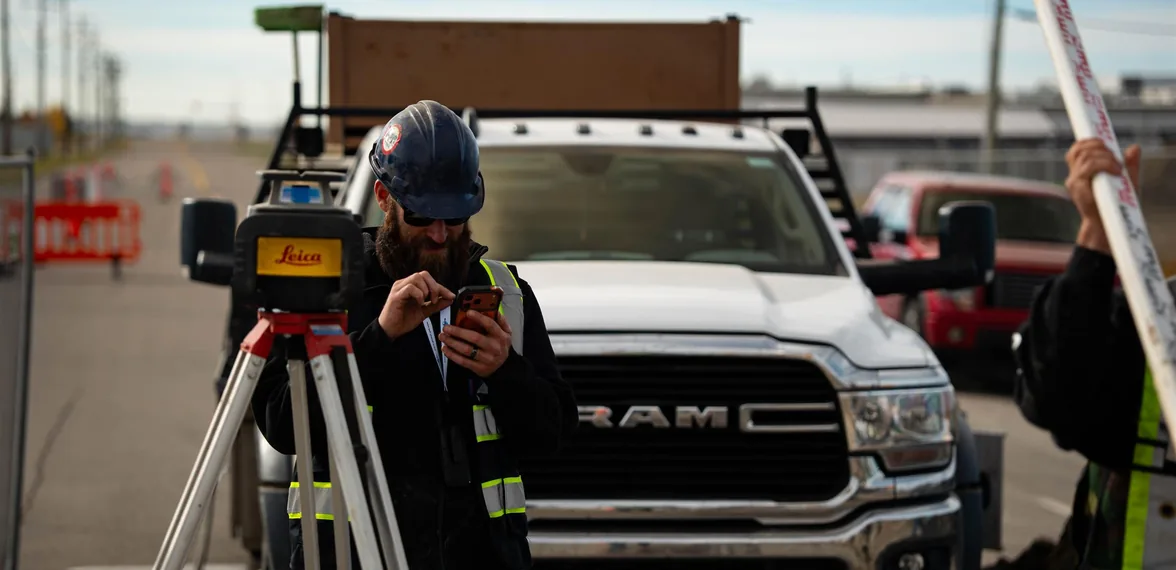
Commercial excavation services don’t begin with a machine breaking ground — they begin with a site assessment and a review of what’s already below grade. That means confirming utility locates for gas, water, electrical, and telecom lines, checking existing site drawings and as-built records where available, and walking the site to understand soil conditions, access points, and any constraints that will shape how the work is sequenced. Skipping this step is how excavation contractors end up striking a gas line or water main mid-project — a mistake that costs far more in delays and repairs than the assessment would have.
In most jurisdictions, contacting a utility locate service before digging is a legal requirement, not just good practice, and the turnaround for locates has to be built into the project schedule rather than treated as an afterthought. Beyond public utilities, commercial sites often have private lines — irrigation, lighting, or previous tenant improvements — that don’t show up on a public locate request and have to be identified through site records or careful test digging.
Access and staging also get worked out at this stage — where equipment enters and exits the site, where excavated material and imported fill get stockpiled, and how the excavation sequence avoids blocking access for other trades or, on an active commercial property, for customers and deliveries that still need to move through the site during construction.




4.9 Google Rating


Clearing, Excavation, and Grading
Once the site is confirmed clear, the scope typically moves through land clearing to remove vegetation and debris, bulk excavation to reach the depth a foundation, basement, or utility trench requires, and grading to shape the remaining ground to the elevations set out in the project’s civil engineering plans. Grading is often underestimated, but it’s what determines whether stormwater drains away from a building or pools against it once construction is finished — getting it right at the excavation stage avoids expensive corrections later.
Soil conditions discovered during excavation can also change the scope mid-project. Unexpected groundwater, unstable fill soil from a previous use of the site, or rock closer to the surface than the geotechnical report indicated all require adjustments — which is why an experienced excavation contractor builds some flexibility into both the schedule and the budget rather than assuming the first geotechnical report tells the whole story.
What a Full Excavation Scope Typically Covers
Site excavation and grading for a new building pad, parking lot, or utility corridor — shaping the site to the elevations required before any concrete or asphalt goes down.
Foundation excavation, which requires more precision than general site work since footings and foundation walls have to sit at exact depths and dimensions specified in the structural drawings.
Trenching for underground utilities — excavation that’s sized, sloped, and shored appropriately to safely install sewer, water, or utility lines before backfilling.
Hydro excavation in higher-risk areas, using pressurized water and a vacuum system to expose existing utility lines without the risk of striking them with a bucket — the preferred method whenever excavation has to happen close to active gas, water, or electrical infrastructure.

A Few More Things Worth Knowing
Timing matters as much as method. Excavation scheduled around wet spring conditions or frozen winter ground behaves very differently than the same scope in dry summer soil, and an experienced excavation company factors seasonal conditions into both the timeline and the equipment plan rather than treating every site the same way year-round.
Shoring and trench safety become critical once excavation depth passes a few feet, since unsupported trench walls can collapse without warning — a serious safety hazard that’s also tightly regulated, requiring shoring boxes, sloping, or benching depending on soil type and depth.
Dewatering is sometimes part of the scope on sites with high water tables or after heavy rain, using pumps to keep an excavation dry enough to work in safely and to keep backfill material from becoming saturated before compaction.
Compaction testing typically follows backfilling on any excavation that will support a foundation, slab, or pavement — verifying the soil has been compacted to the density specified in the geotechnical report before the next trade builds on top of it.
Choosing the Right Method for the Site
Not every job calls for the same approach. A large, open building pad with no nearby utilities is usually straightforward bulk excavation with standard equipment. A trench running parallel to an active gas line, on the other hand, is exactly the kind of situation where hydro excavation earns its higher cost — the risk and expense of hitting a utility line with conventional equipment far outweighs the extra time hydro excavation takes. An experienced excavation company weighs soil conditions, known utilities, access constraints, and schedule pressure before deciding which method — or combination of methods — a given site actually needs.
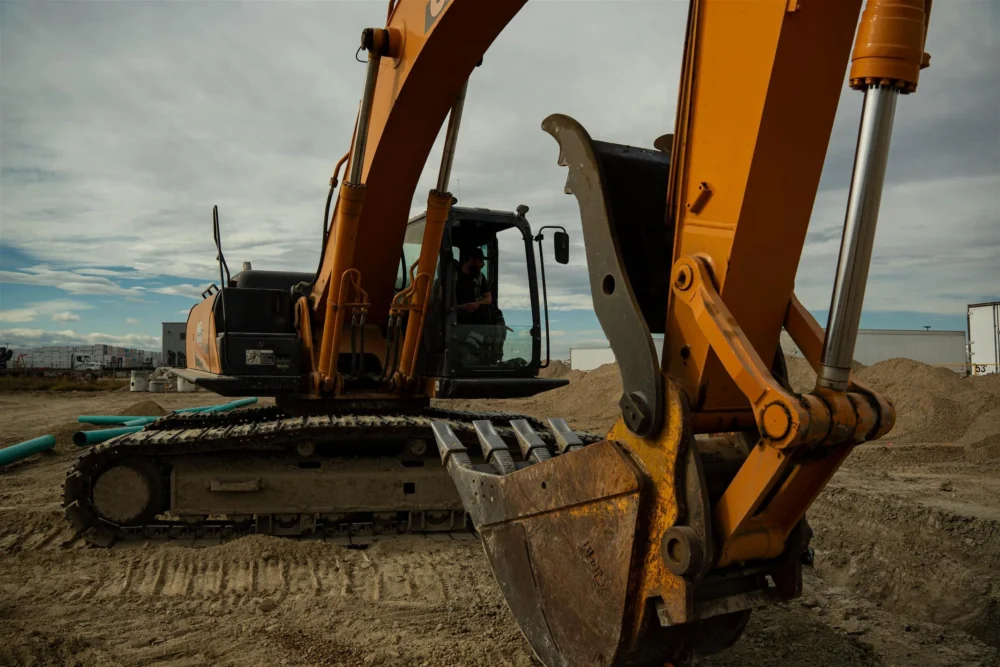
Equipment selection follows the same logic. A compact excavator might be the right call on a tight urban lot with limited access, while a larger site with a lot of material to move calls for larger equipment and a different trucking plan for spoil removal. None of these decisions are made in isolation — soil report, utility locates, site access, and schedule all factor into the plan before the first bucket of dirt comes out.
Disposal and reuse of excavated material is another practical consideration that’s easy to overlook when scoping a project. Suitable soil can sometimes be reused on-site for backfill or grading, reducing trucking costs, while unsuitable material — contaminated soil, excess rock, or material that doesn’t meet compaction requirements — has to be hauled off and disposed of properly, which affects both the project cost and the schedule.